
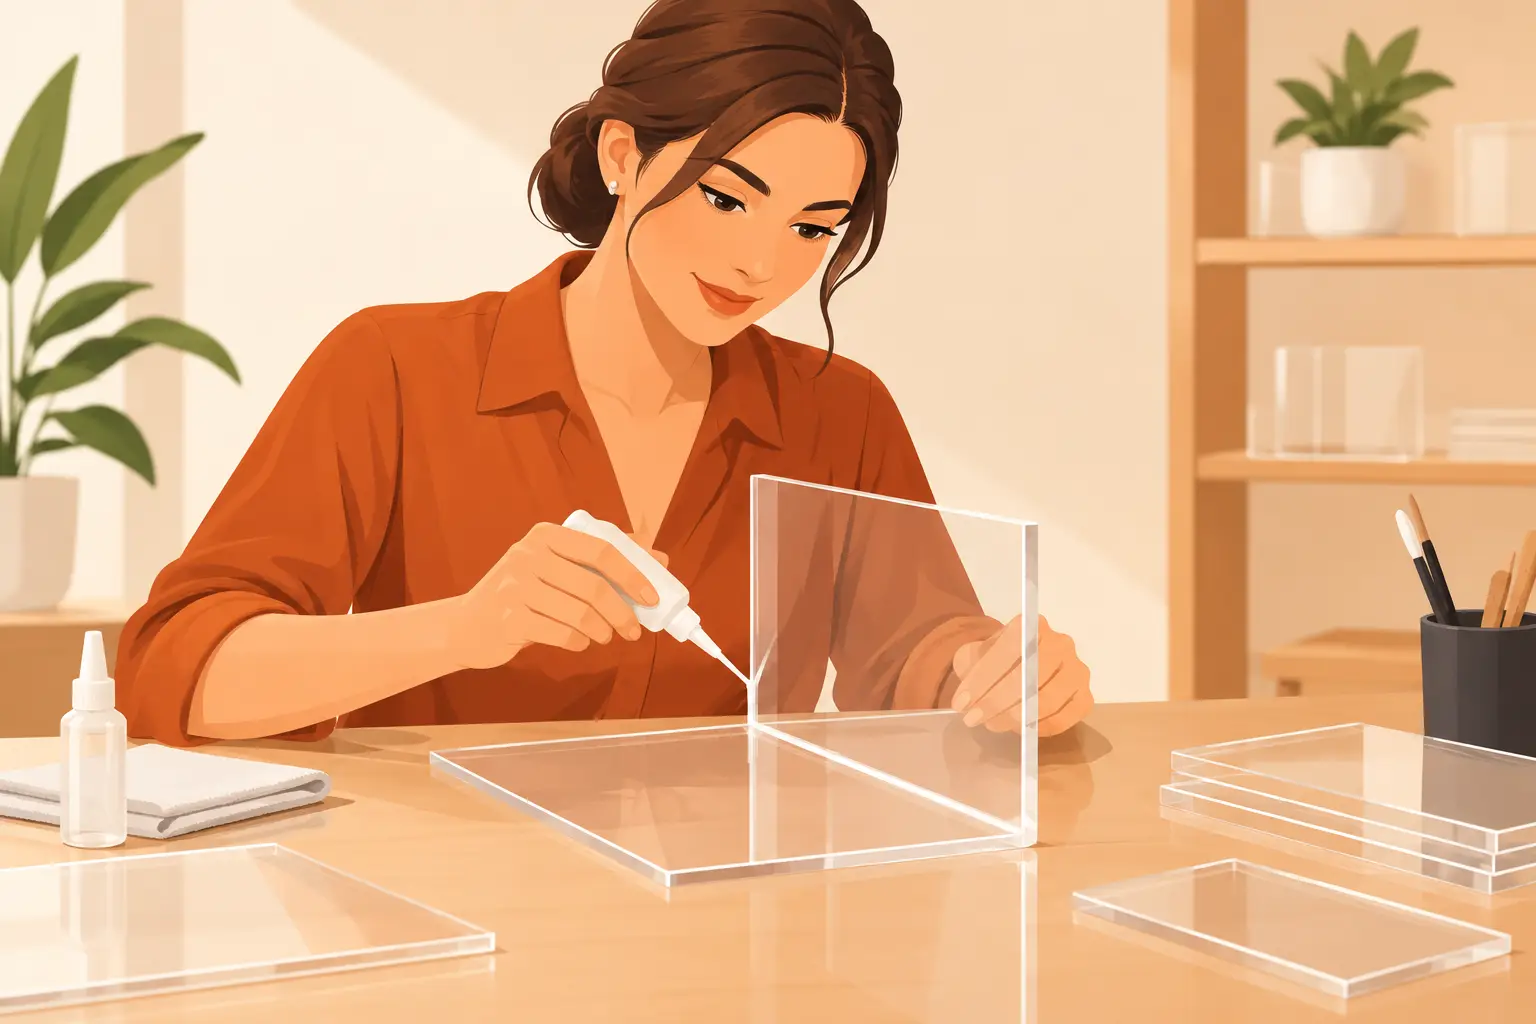
How to Bond Acrylic Pieces for Clean, Strong Joints
Acrylic rarely fails because the material is weak. It fails because the joint was rushed, the edges did not meet cleanly, or the wrong bonding method was used for the job. Knowing how to bond acrylic pieces correctly is what separates a clear, polished display or furniture component from a cloudy, stressed, or visibly uneven assembly.
For many acrylic projects, the best result does not come from a thick layer of glue. It comes from a carefully prepared joint and the right solvent cement, applied with control. The cement softens the mating surfaces so they fuse as it cures, creating a joint that can look nearly invisible when the parts, fit, and material are right.
Start With the Right Acrylic and Bonding Method
Acrylic is commonly sold as cast acrylic or extruded acrylic. Both can be bonded, but cast acrylic is generally the preferred choice for high-end fabrication. It machines, polishes, and bonds more consistently, making it a strong option for furniture, retail displays, awards, protective cases, and custom branded pieces.
Extruded acrylic can be more economical, but its tighter manufacturing tolerances and internal stress can make it more prone to crazing – the fine cracks or hazy lines that may appear near a bonded area. This does not mean it cannot be used successfully. It does mean the fabricator should be more selective about the cement and more careful with surface preparation.
The bonding product should match the joint and the performance requirements. Thin, water-like solvent cements are designed for close-fitting seams. They flow into the joint by capillary action and are often the best choice for clean right-angle boxes, cases, and display components. Thicker solvent cements can bridge very small gaps, but they are more visible and should not be treated as a fix for poorly cut parts.
For dissimilar materials, large gaps, or applications that require a flexible bond, a specialty acrylic adhesive may be appropriate. These products can be useful, but they usually do not produce the nearly invisible seam associated with a properly solvent-welded acrylic joint. If visual clarity is the priority, accurate fabrication comes first.
How to Bond Acrylic Pieces With Solvent Cement
The most dependable method for closely fitted acrylic parts is solvent welding. Before beginning, make sure the work surface is clean, level, and protected from dust. Acrylic shows fingerprints, lint, scratches, and glue marks easily, especially under bright retail or residential lighting.
Leave the protective masking on the face of each sheet as long as practical. Remove only enough masking to expose the bonding edges. This helps protect the visible surfaces while the piece is being positioned and clamped.
Prepare the Edges Before Assembly
A strong, clear joint begins with square, smooth edges. The two pieces should meet along their full length without rocking, obvious gaps, chipped areas, or saw marks. A rough-cut edge can trap air and create a cloudy seam, while an edge that is out of square can pull the assembly out of alignment.
For a polished fabrication result, cut the acrylic with the correct blade or router bit, then machine the bonding edge cleanly. Do not flame-polish an edge that will be cemented. Flame polishing can create surface stress that may later show as crazing around the joint.
Clean prepared edges with a lint-free cloth and a cleaner that is safe for acrylic. Avoid household glass cleaners containing ammonia, as well as aggressive solvents not intended for acrylic. They can damage the surface or introduce stress before the bonding process even begins.
Position and Hold the Parts Square
Dry-fit the pieces before opening the cement. For a simple 90-degree assembly, use a reliable square, a jig, or a fixture that keeps the components aligned without excessive pressure. The goal is contact, not compression. Clamping too tightly can squeeze out cement, distort thinner material, or leave a starved joint with too little material to fuse properly.
Many professional fabricators use the pin method for precise work. Fine wire or small pins create a controlled gap between the acrylic pieces. After the solvent cement is applied along the seam, the pins are gently removed so the surfaces settle together evenly. This method reduces the chance of trapping bubbles and gives the cement a consistent path through the joint.
For very close-fitting pieces, the capillary method may be sufficient. The parts are placed together first, then thin cement is applied along the seam using an applicator bottle with a fine needle. The liquid should wick through the joint naturally. If it does not flow, do not flood the area. Check the fit and confirm that the edges are clean and properly aligned.
Apply Cement With Restraint
More cement does not create a stronger acrylic joint. Excess solvent can run onto visible faces, soften the surface, create bubbles, or leave a hazy border around an otherwise clean seam. Apply a steady, continuous line along the joint and allow the product to do its work.
Once cement has been applied, avoid shifting the parts. Small movements can introduce air, disrupt the softened acrylic, and make the seam more noticeable. Keep the assembly supported and square while it begins to set.
Initial handling strength may develop within minutes, but that is not the same as a fully cured bond. Cure time depends on the adhesive type, material thickness, room temperature, humidity, and joint design. Give the piece adequate time before loading it, polishing nearby edges, moving it into service, or packaging it for transport.
Design the Joint for Its Real Job
Acrylic bonds are not all asked to do the same thing. A dust cover for a collectible, a countertop sign holder, and a clear waterfall bench each place different demands on the joint.
A simple butt joint can work well for light-duty display pieces when the bonding surfaces are accurately machined. For heavier products, consider a larger bonding area, a supported base, mechanical fasteners, or a joint design that distributes the load rather than concentrating it at one narrow seam. A mitered edge can create a refined appearance, but it requires excellent cutting accuracy and careful fixturing. It is not always the most practical choice for a load-bearing application.
Heat also matters. Acrylic expands and contracts more than many other materials. A long acrylic panel bonded rigidly to wood, metal, or another dissimilar substrate may experience stress as temperatures change. For installations near windows, lighting, kitchens, or commercial environments, allow for movement in the design and choose the adhesive system accordingly.
Common Bonding Problems and What Causes Them
Bubbles usually point to imperfect edge contact, contamination, improper cement flow, or movement during assembly. Cloudy seams may come from rough edges, too much cement, moisture, or an adhesive that is not suited to the material. Crazing often indicates stress from aggressive cleaners, heat exposure, flame-polished bond edges, or incompatible chemicals.
Misalignment is usually a setup problem rather than a cement problem. Solvent cements act quickly, so there is little opportunity to reposition a piece after application. A dry run with the same blocks, squares, clamps, and fixtures you will use during bonding is time well spent.
Visible glue marks are another reason to resist overapplication. Once solvent has touched a polished acrylic face, removing the mark may require sanding and repolishing. On a clear display, furniture panel, or branded logo piece, that repair can be more time-consuming than fabricating the component again.
When a Custom Fabricator Is the Better Choice
Bonding a small acrylic box or repair piece can be manageable with the right materials and patience. Larger projects become more demanding quickly. Thick material, long seams, compound angles, polished edges, illuminated components, and load-bearing furniture all require more than a bottle of cement and a steady hand.
Custom fabrication also provides advantages when appearance must be consistent across multiple pieces. Commercial displays, product risers, branded fixtures, awards, and retail programs benefit from repeatable jigs, controlled machining, and experienced assembly. Plastic Mart has worked with acrylic fabrication since 1961, and that experience matters when a project must look clean, fit precisely, and perform reliably beyond a single prototype.
Work slowly, keep the bonding area clean, and let precision guide every step. Acrylic rewards careful fabrication: when the edges fit and the cement is controlled, the joint supports the design without calling attention to itself.
You must be logged in to post a comment.